This guide assume you have read “Installing Sigma Autodesk Integrations for Revit and BIM360” guide and uploaded the sample files. If not, please do that first.
Open Sigma and go to the Autodesk tab.
At this point there are 2 options. If you have a Revit license, you can proceed to the next step. But if you are using the free Revit viewer you need to open the Revit viewer before proceeding to the next step.
In Sigma, click on the Autodesk tab in the toolbar, then click on Open sample in Revit, authorize if asked to, navigate to the BIM360 revit sample model.rvt file, select it and click Next. If your BIM 360 account is already authorized and connected, the sample model will open automatically in Revit.
Revit will open with the sample model, and you can proceed to the next guide, “Importing the sample model into Sigma”.
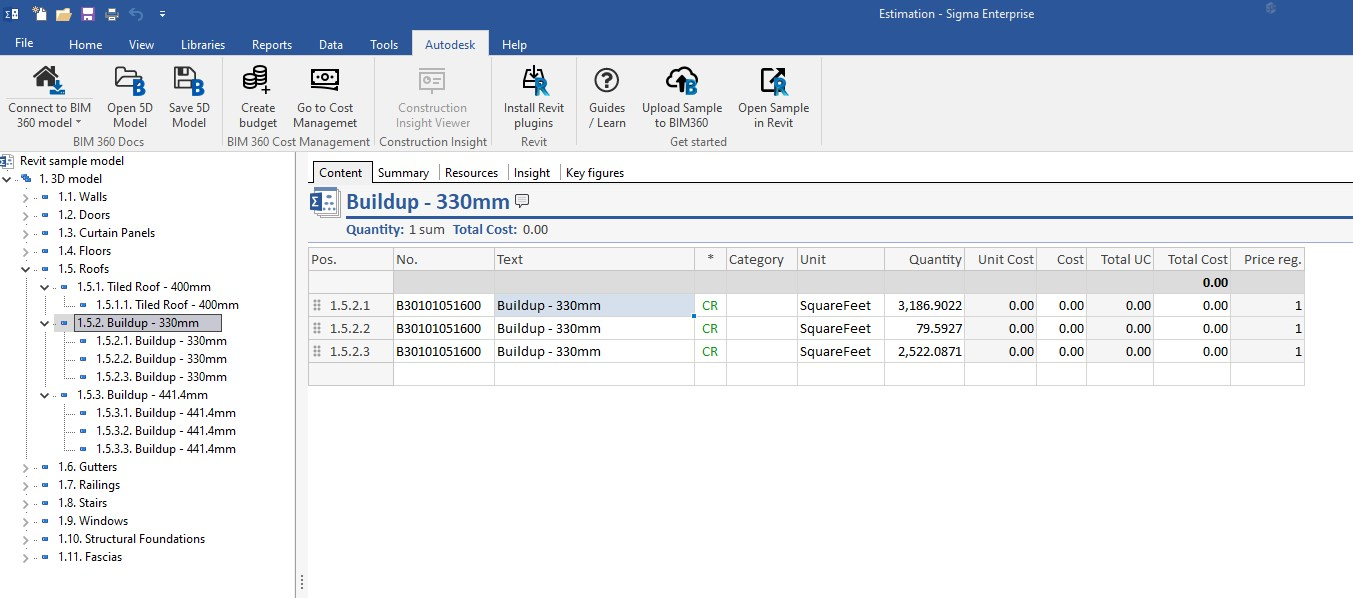
You can rearrange the WBS by simply dragging and dropping headings and components to new headings as you see fit. In the next guide, “Adding costs to the model estimate”, you learn how to update the imported items from the model with cost data from the Cost data sample library.