This guide assume you have read “Installing Sigma Autodesk Integrations for Revit and BIM360” guide and uploaded the sample files. If not, please do that first. Also please read “Connecting Sigma to the Revit sample model” before proceeding.
With the sample model open in Revit, make sure you are in 3D view (3D View in the View tab in Revit) and then click on the Sigma Estimates tab. For this example, simply click on Connect, and Revit will export the model quantities to Sigma. You will see a progress bar that shows the status of the import.
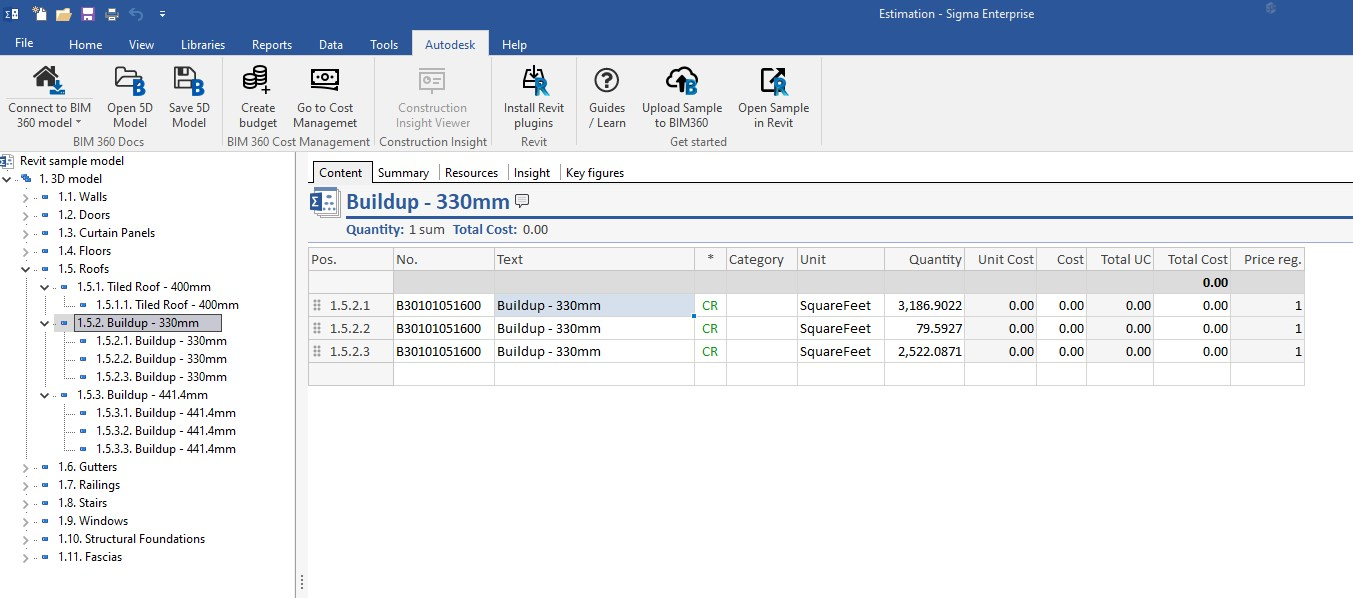
After the model has been imported, return to Sigma and click on the Content tab, and you’ll see this WBS on the left, with the details in the Estimate window on the right.
You can rearrange the WBS by simply dragging and dropping headings and components to new headings as you see fit. In the next guide, “Adding costs to the model estimate”, you learn how to update the imported items from the model with cost data from the Cost data sample library.