In order to use the Sigma BIM360 integration, you need to have a paid Autodesk 360 account, and will need the login information and password to access your account. This process will be covered in the “Connecting to your Autodesk account” guide. This guide will describe the steps you are required to take to authorize Sigma’s access to your BIM360 account.
Connecting to your Autodesk account
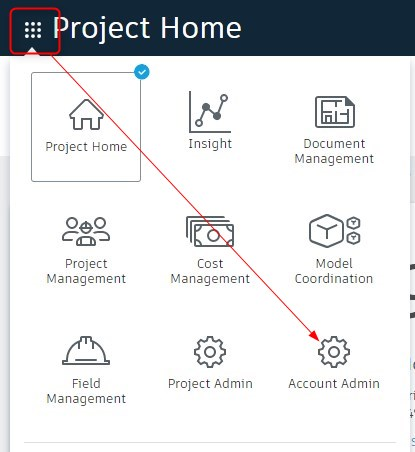
Log in to your Autodesk BIM360 account, and from the Project Home page, click the small square to theleft of the Project Home name and select Account Admin.
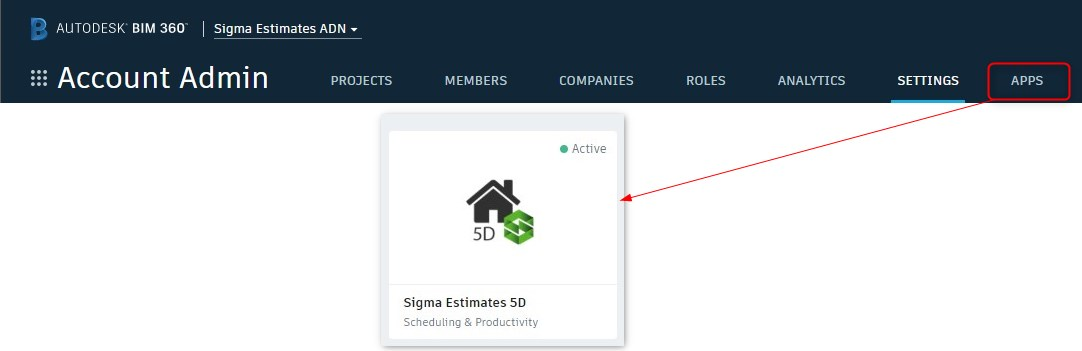
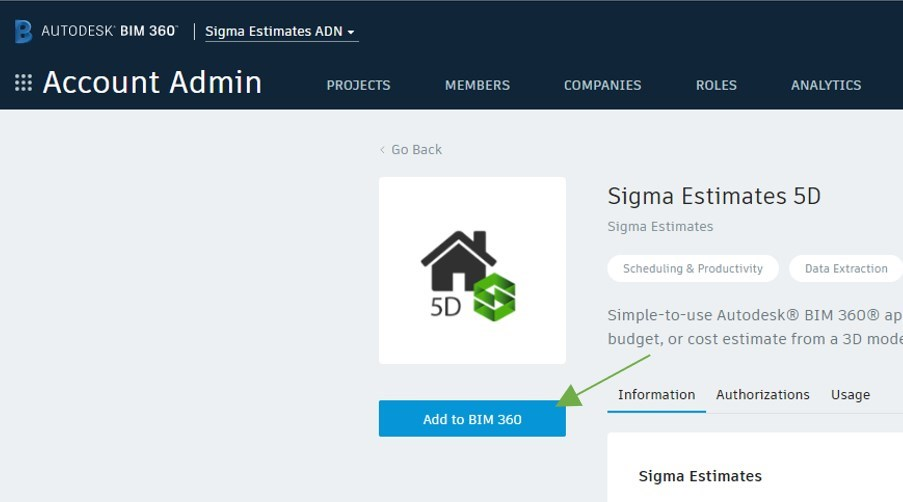
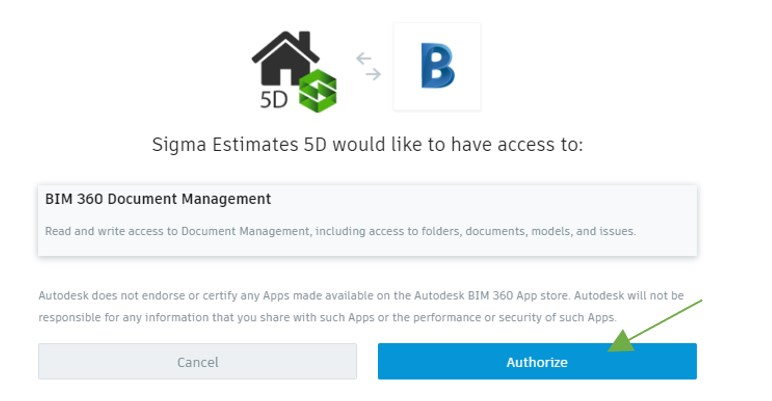
Sigma now has access to your BIM 360 account, and you will be able to use the BIM 360 Integration.
Going forward, you will simply click on the Connect to BIM360 button in the integration tool bar, enter you login credentials, and return to Sigma.
Add the Sigma sample files
When the Autodesk Integration installed in Sigma, several templates, a library and a revit model were also included in the installation. The templates (BIM 360 Template and Revit Template) can be accessed in Sigma by clicking File, then New, and the library (Cost data sample) can be accessed by clicking on the Library tab in Sigma. The sample revit model (BIM360 revit sample model.rvt) however needs to be uploaded in your Autodesk BIM360 storage space.
Open Sigma and start a new estimate by clicking File, New, and then under My Templates, click on BIM360 template. Once the new estimate opens, go to the Autodesk tab, and click on Upload sample to BIM360. If you are not logged in to your Autodesk account, a browser window will open asking you to authorize and allow Sigma to access your account. After logging in to your account, return to Sigma and browse your file locations in BIM360 and choose a folder for the sample model, and click OK.